CPython
CPython General
A minimal CPython model contains three essential files, the model specification file model.spec.json,
a python model file (default name: model.py, ), and __init__.py in order to define the model as python module.
model/
├── __init__.py
├── model.py
└── model.spec.json
Model Specification File
The model specification file is used to define the entrypoint and some other options for the model calculation.
{
    "entry_file": "model.py",
    "entry_function_name": "execute",

    "resource_files": [
        "**/*.csv",
        "**/*.xlsx",
        "**/*.txt",
        "**/*.json",
    ],

    "docker_container_recreate": false
}
entry_filedefines the name of the entry point filename of the python model. (default:model.py)entry_function_namedefines the name of the function that is executed for each task item context. (default:execute)resource_filesdefines resource files that will be included in the model. (default: only.pyfiles)docker_container_recreatealways creates a fresh docker container for each new task (default:false)
Python Model
The minimal setup for a CPython model is Python file model.py that contains a entry point function execute(context) for the work item calculation.
 1import numpy as np
 2
 3def execute(ctx):
 4    ctx.logger.info(f'ENTER {__file__}')
 5
 6    # create ouput
 7    ctx.data.output['output_var_1'] = ctx.data.input['input_var_1']
 8
 9    # complete workitem with success
10    ctx.outcome.success()
11
12    ctx.logger.info(f'EXIT {__file__}')
Context API
Note
This Calculation Context API will later be delivered as a separate python module for local model testing and syntax completion.
The context argument from the execute(context) entry point contains all the information in order to calculate a task item (work item).
Logging
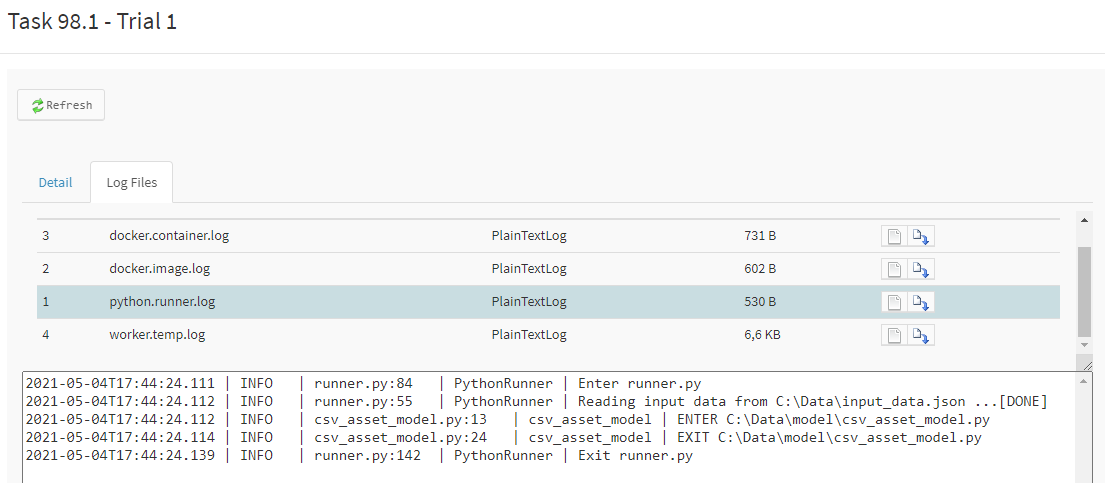
Logging will be captured on the executing task trial result data as python.runner.log.
 1import logging
 2
 3def execute(context):
 4
 5    # use context logger
 6    # See: https://docs.python.org/3/library/logging.html#module-logging
 7    context.logger.debug('debug message ...')
 8    context.logger.info('info message ...')
 9    context.logger.warning('warning message ...')
10    context.logger.error('error message ...')
11    context.logger.critical('critical message ...')
12
13    # you are also able to create your own logger which will log the the initial logging config
14    my_logger = logging.getLogger('custom_logger')
15    my_logger.info('hello from custom_logger')
16
17    # direct logging
18    logging.info('hello from root logger')
Task Item Id & Trial
1def execute(context):
2
3    # access to task item (work item) id and  execution trial
4    current_id = context.id
5    context.logger.info(f'Current Id: {current_id}')  # e.g. '1.1.1'
6
7    current_trial = context.trial
8    context.logger.info(f'Current Trial: {current_trial}')  # e.g. 1
Variable Specification
 1def execute(context):
 2
 3    # access variable specification (input, output)
 4    for spec in context.spec.input:
 5        context.logger.info(f'Input Variable: {spec.name}, {spec.uom}')
 6
 7    for spec in context.spec.output:
 8        context.logger.info(f'Output Variable: {spec.name}, {spec.uom}')
 9
10    # you also can access them by attributes or by indexed attributes
11    spec = context.spec.input.variable_1
12    context.logger.info(f'Input Variable: {spec.name}, {spec.uom}')
13
14    spec = context.spec.input['variable_1']
15    context.logger.info(f'Input Variable: {spec.name}, {spec.uom}')
16
17    spec = context.spec.output.variable_1
18    context.logger.info(f'Output Variable: {spec.name}, {spec.uom}')
19
20    spec = context.spec.output['variable_1']
21    context.logger.info(f'Output Variable: {spec.name}, {spec.uom}')
Data Input & Output
1def execute(context):
2
3    # read and write data
4    input1 = context.data.input.variable_1
5    input2 = context.data.input['variable_2']
6
7    context.data.output.variable_1 = input1 + input2
8    context.data.output['variable_2'] = input1 - input2
Execution Outcome
1def execute(context):
2
3    # setting the outcome for your calculation
4    # the outcome it will be undefined by default
5    context.outcome.undefined()
6    context.outcome.error()
7    context.outcome.warning()
8    context.outcome.success()
Resource Files
It is possible to include resource files (e.g. csv, xslx, json, txt, etc.) within your model.
Caution
Keep your model as small as possible! Do not include resource files that are not required in your calculation (e.g. broad wildcard includes). Larger models can drastically reduce runtime performance because of operations like decompressing, writing model data, etc.
example_model/
├── data
│   ├── data1.csv
│   └── data2.xlsx
├── __init__.py
├── model.spec.json
├── my_model.py
└── requirements.txt
Example model.spec.json:
{
    "entry_file": "my_model.py",
    "entry_function_name": "my_entry_function",
    "resource_files": [
        "data/data1.csv",
        "data/data2.xlsx"
    ]
}
The resource_files property accepts file globbing (includes & excludes) from the root directory where the model.spec.json file is placed.
Exclusions are prefixed with ! (e.g. !**/*.pyc), see file globbing: https://docs.python.org/3/library/glob.html.
CPython 3.8
Type Specifier: Python.CPython3.8
in addition to the common model specification for the CPython worker it is possible to include a standard requirements.txt.
All dependencies/modules from this requirements.txt file will be available in your model.py.
Caution
Include only modules that are actually used! Each module dependency will be installed by pip.
This can be a time consuming process depending on module size and complexity and will increases the overall runtime.
model/
├── __init__.py
├── model.py
├── model.spec.json
└── requirements.txt
Requirements File
If your model has module dependencies, for example numpy, pandas or anything else from the public PyPi index (https://pypi.org/search/), you can include a requirements.txt file.
See: https://pip.pypa.io/en/stable/cli/pip_install/#requirement-specifiers.
numpy==1.19.1
pandas
matplotlib
You have to include the requirements.txt file in your model.spec.json in the resource_files section in order to be processed by pip.
{
    "resource_files": [
        "requirements.txt"
    ]
}
CPython Generic
Type Specifier: Python.Generic
The CPython generic worker can be used to run python models with custom python docker images (e.g. anaconda).
These images are special docker CPython images and build and managed by ENEXSA.
To use a custom image you have to provide a docker_image in the model.spec.json file.
{
    "docker_image": "myrepo/my_custom_image:latest"
}
Enexsa Anaconda Image 2021.11
The Anaconda docker image contains a full Anaconda 2021.11 installation for the calculation and requires a environment.yml file.
This environment.yml is used to setup your specific conda environment.
See Conda Environments: https://docs.conda.io/projects/conda/en/latest/user-guide/tasks/manage-environments.html
Anaconda 2021.11 Image: nexus.enexsa.com/enexsahub/calculation-cpython-conda:2021.11-enx1.2.0
model/
├── __init__.py
├── model.py
├── model.spec.json
└── environment.yml
{
    "resource_files": [
        "environment.yml"
    ],

    "docker_image": "nexus.enexsa.com/enexsahub/calculation-cpython-conda:2021.11-enx1.2.0",
}
Environment File (YAML)
Note
Channel Limits! Only the anaconda main channel and proxy channels from nexus.enexsa.com
are currently allowed to use in the environment.yml, see example below.
name: enexsa
channels:
- https://nexus.enexsa.com/repository/conda-forge   # conda-forge proxy channel (optional)
- https://nexus.enexsa.com/repository/conda-cantera # cantera proxy channel (optional)
- defaults # default anaconda channel
dependencies:
- python=3.8.12
- numpy=1.20.1
- pandas